
contents
에러처리, 예외처리(throws, throw, do-try-catch)

프로그램 내에서 에러가 발생한 상황에 대해 대응하고 이를 복구하는 과정
Q. 에러는 무엇인가?
A. Error 프로토콜을 따르는 타입의 값
Q. 예외 처리 왜 필요한가?
A. optional타입은 오류가 발생했을 때 오류에 대한 정보를 외부로 전달할 방법이 없다. 따라서 예외 처리를 통해서 오류를 처리하자!
에러 처리를 하기 위해선 세 가지 과정이 필요합니다.
1.
오류의 종류 정의하기(옵션)
enum NetworkError: Error {
case authErr
case pathErr
case serverErr
}
enum TestError: Error {
case notANumber
case invalidInput(testNum: Int)
}
Swift
복사
•
케이스별로 오류처리를 하지 않을 때도 있기 때문에 간단한 에러 출력을 할거면 건너뛰어도 되는 단계
2.
발생한 오류 던지기
•
throws를 이용해 오류를 처리해주는 곳으로 던집니다.
private func calculateRate(watched: Int, total: Int) -> Double {
guard total != 0 else { return 0 }
let result = Double(watched) / Double(total)
return result
}///inf
Swift
복사
guard문을 이용해서 total이 0이 되면서 일어날 수 있는 오류를 해결하고 있습니다.
throw를 사용해서 오류를 던져주자•
throw는 총 두 군데에 써주시면 됩니다.
1.
throws를 오류가 발생할 가능성이 있는 메소드 제목 옆에 써줍니다.
2.
throw를 오류가 발생할 구간에 써줍니다.
private func calculateRate(watched: Int, total: Int) throws -> Double {
guard total != 0 else { throw TestError.notANumber }
let result = Double(watched) / Double(total)
return result
}
Swift
복사
변수를 받는 케이스의 경우에는,
private func calculateRate(watched: Int, total: Int) throws -> Double {
guard total > 0 else { throw TestError.invalidInput(testNum: number) }
let result = Double(watched) / Double(total)
return result
}
Swift
복사
3.
던진 오류 처리하기
try와 do-catch로 오류를 처리합니다.
class Rate {
private func calculateRate(watched: Int, total: Int) throws -> Double {
guard total != 0 else { throw TestError.notANumber }
let result = Double(watched) / Double(total)
return result
}
}
class AnotherClass {
private func test() {
let rate = try Rate().calculateRate(watched: 10, total: 0)
}
}
Swift
복사
a.
오류를 발생시키는 메소드 앞에 try를 넣어줍니다.
try : calculateRate가 오류를 발생시킬 수도 있지만, 한 번 시도해보겠다.
b.
do-catch문을 사용해서 오류를 처리해준다.
•
do-catch는 오류를 처리하는 가장 간단한 방법이다.
•
오류를 정의하지 않아도 에러 출력이 가능
•
catch를 생략해도 무방
•
케이스별로 처리하기 때문에 switch문으로도 쓸 수 있습니다.
do {
let rate = try Rate().calculateRate(watched: 10, total: 0)
} catch {
print(error)
}
Swift
복사
class AnotherClass {
private func test() {
do {
let rate = try Rate().calculateRate(watched: 10, total: 0)
} catch TestError.notANumber {
print("0를 넣으면 inf가 생성됩니다.. 에러!")
} catch TestError.invalidInput(let testNumber) {
print("부적절한 숫자를 넣었습니다. \(testNumber)")
}
}
}
Swift
복사
enum TestError: Error, String {
case notANumber = "0를 넣으면 inf가 생성됩니다.. 에러!"
case invalidInput = "부적절한 숫자를 넣었습니다."
}
class AnotherClass {
private func test() {
do {
let rate = try Rate().calculateRate(watched: 10, total: 0)
} catch {
switch error {
case TestError.notANumber:
print(error.rawValue)
case TestError.invalidInput:
print(error.rawValue)
}
}
}
}
Swift
복사
try? try!
기본적으로 사용하는 try는 성공하는 경우에 unwrapping된 값을 반환받게 됩니다.
let rate = try? Rate().calculateRate(watched: 10, total: 0)
Swift
복사
try?는 오류가 발생할 수도 있다는 걸 인정합니다.
따라서 리턴값을 옵셔널 타입 또는 nil로 받을 수 있게 됩니다.
let rate = try! Rate().calculateRate(watched: 10, total: 0)
Swift
복사
try!는 해당 메소드에서 오류가 절대 발생하지 않을 것이라는 걸 뜻합니다.
따라서 오류가 발생할 시에 Runtime Error가 발생하고 종료됩니다. 성공한다면 unwrapping된 값을 받습니다. nil값이 나오지 않음을 확신하는 경우에만 사용하는 게 좋습니다.
defer
defer구문을 사용해서 현재 코드 블럭이 종료되기 직전에 수행해야 할 일을 지정할 수 있다.
defer는 bottom-up 순으로 실행된다.
defer 구문은 return, break 혹은 예외로 인해 강제로 벗어나는 경우에도 동작func main(){
defer {
print("The end.")
}
defer {
print("앱이 종료됩니다.")
}
while true {
do{
let a = try adultAge(of: "21")
print(a)
break
} catch let error as AgeError {
print(error)
} catch {
print(error)
}
}
}
main()
// 21
// 앱이 종료됩니다.
// The end
Swift
복사


Task
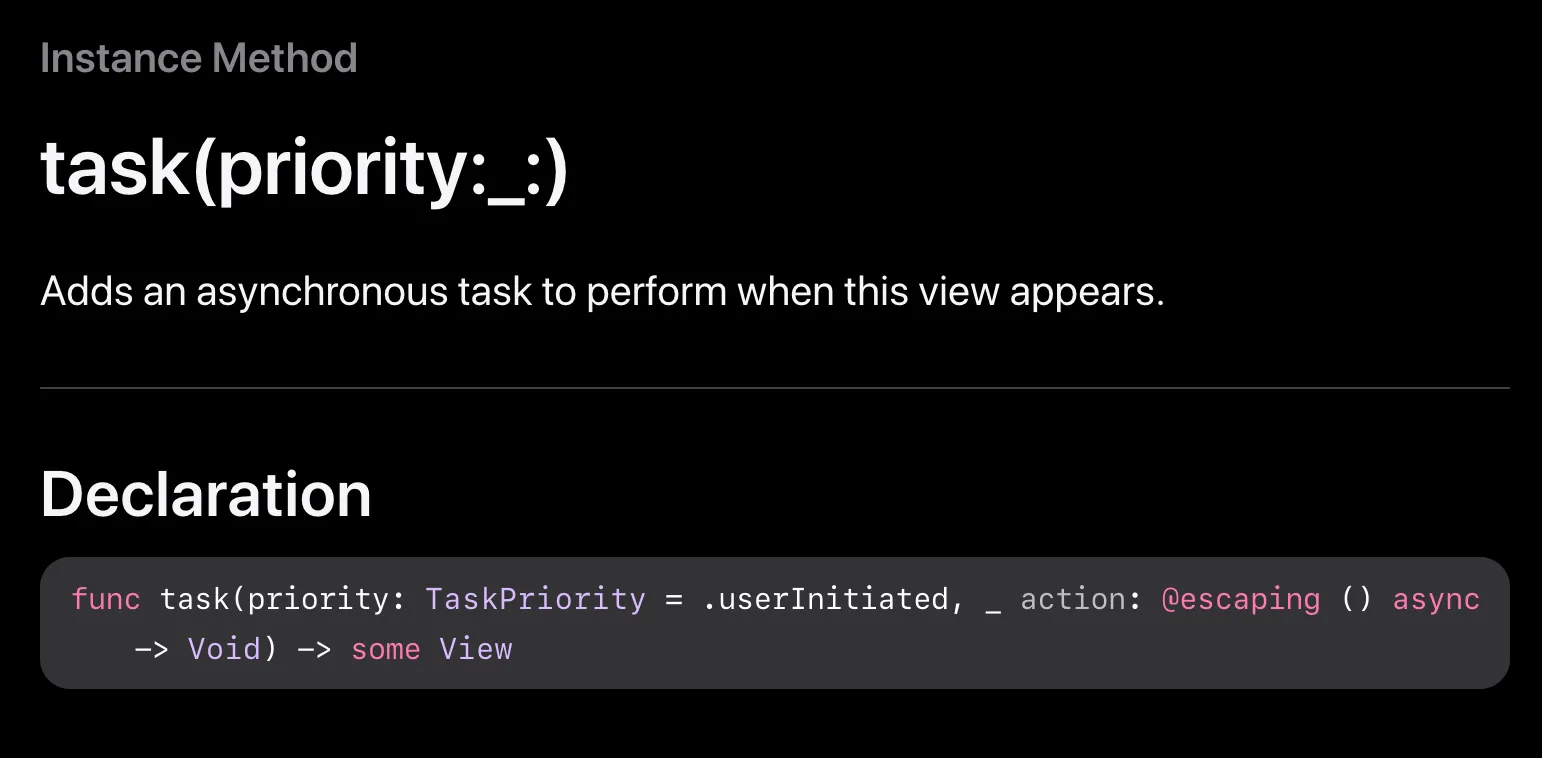
view가 나타날 때(view appears) 수행할 비동기 작업을 추가합니다.(iOS 15+)
Q. view appears라면 onAppear를 사용해도 되지 않나요? 왜 굳이 task를 사용하나요?
A. task가 modifier로 추가된 view의 수명과 일치하는 수명을 가집니다.
if task에 비동기 작업을 넣었을 때, 작업이 끝나지도 않았는데 View가 사라진다면?
SwiftUI : 내가 대신 처리해줄게!
task에 넣은 작업이 완료되기 전에 View가 사라지면 SwiftUI가 task에 있던 작업을 취소해줍니다.class TestViewModel: ObservableObject {
var urls = [ "https://zeddios.tistory.com", "https://brunch.co.kr/@zedd" ]
@Published var htmls: [String] = []
func requestHTMLs() async throws {
do {
for url in self.urls {
let (data, _) = try await URLSession.shared.data(from: URL(string: url)!)
let str = String(data: data, encoding: .utf8)!.suffix(50)
DispatchQueue.main.async {
self.htmls.append(String(str))
}
}
} catch {
}
}
}
Swift
복사
var body: some View {
List {
ForEach(self.viewModel.htmls, id: \.self) { html in
Text(html)
}
}.task {
try? await self.viewModel.requestHTMLs()
}
}
Swift
복사
@MainActor
A singleton actor whose executor is equivalent to the main dispatch queue.
•
기본 actor - 기본 Executor가 스레드 풀을 사용하여 작업을 수행할 것입니다.
•
MainActor - Executor가 DispatchQueue.main.async를 사용해서 작업을 수행할 것입니다.
@MainActor
class AccountViewModel: ObservableObject {
@Published var username = "Anonymous"
@Published var isAuthenticated = false
}
Swift
복사
두 개의 속성이 UI를 업데이트하기 때문에 이러한 UI 업데이트가 항상 @MainActor에서 일어나도록 한 것.
•
whenever you use @StateObjector @ObservedObject inside a view, Swift will ensure that the whole view runs on the main actor so that you can’t accidentally try to publish UI updates in a dangerous way.
•
Even better, no matter what property wrappers you use, the bodyproperty of your SwiftUI views is always run on the main actor.
•
@StateObject, @ObservedObject, body property 모두 SwiftUI가 알아서 MainActor에서 실행될 수 있도록 하겠지만 observable object class에는 @MainActor 를 써주는 게 좋다.
•
만약 main thread에서 돌릴 필요가 없는 메소드나 저장 프로퍼티가 있다면, nonisolated를 사용해주시면 됩니다.
•
실행 중간에 @MainActor에서 실행해야 한다면 MainActor.run()를 사용하면 됩니다.
func couldBeAnywhere() async {
await MainActor.run {
print("This is on the main actor.")
}
}
await couldBeAnywhere()
Swift
복사
func couldBeAnywhere() async {
let result = await MainActor.run { () -> Int in
print("This is on the main actor.")
return 42
}
print(result)
}
await couldBeAnywhere()
Swift
복사
•
결과를 기다리지 않고 MainActor에게 작업을 보내고 싶다면
func couldBeAnywhere() {
Task {
await MainActor.run {
print("This is on the main actor.")
}
}
// more work you want to do
}
couldBeAnywhere()
Swift
복사
func couldBeAnywhere() {
Task { @MainActor in
print("This is on the main actor.")
}
// more work you want to do
}
couldBeAnywhere()
Swift
복사
•
동기적인 처리를 할 때 특히 도움이 됩니다.
@MainActor
class ViewModel: ObservableObject {
func runTest() async {
print("1")
await MainActor.run {
print("2")
Task { @MainActor in
print("3")
}
print("4")
}
print("5")
}
}
Swift
복사


